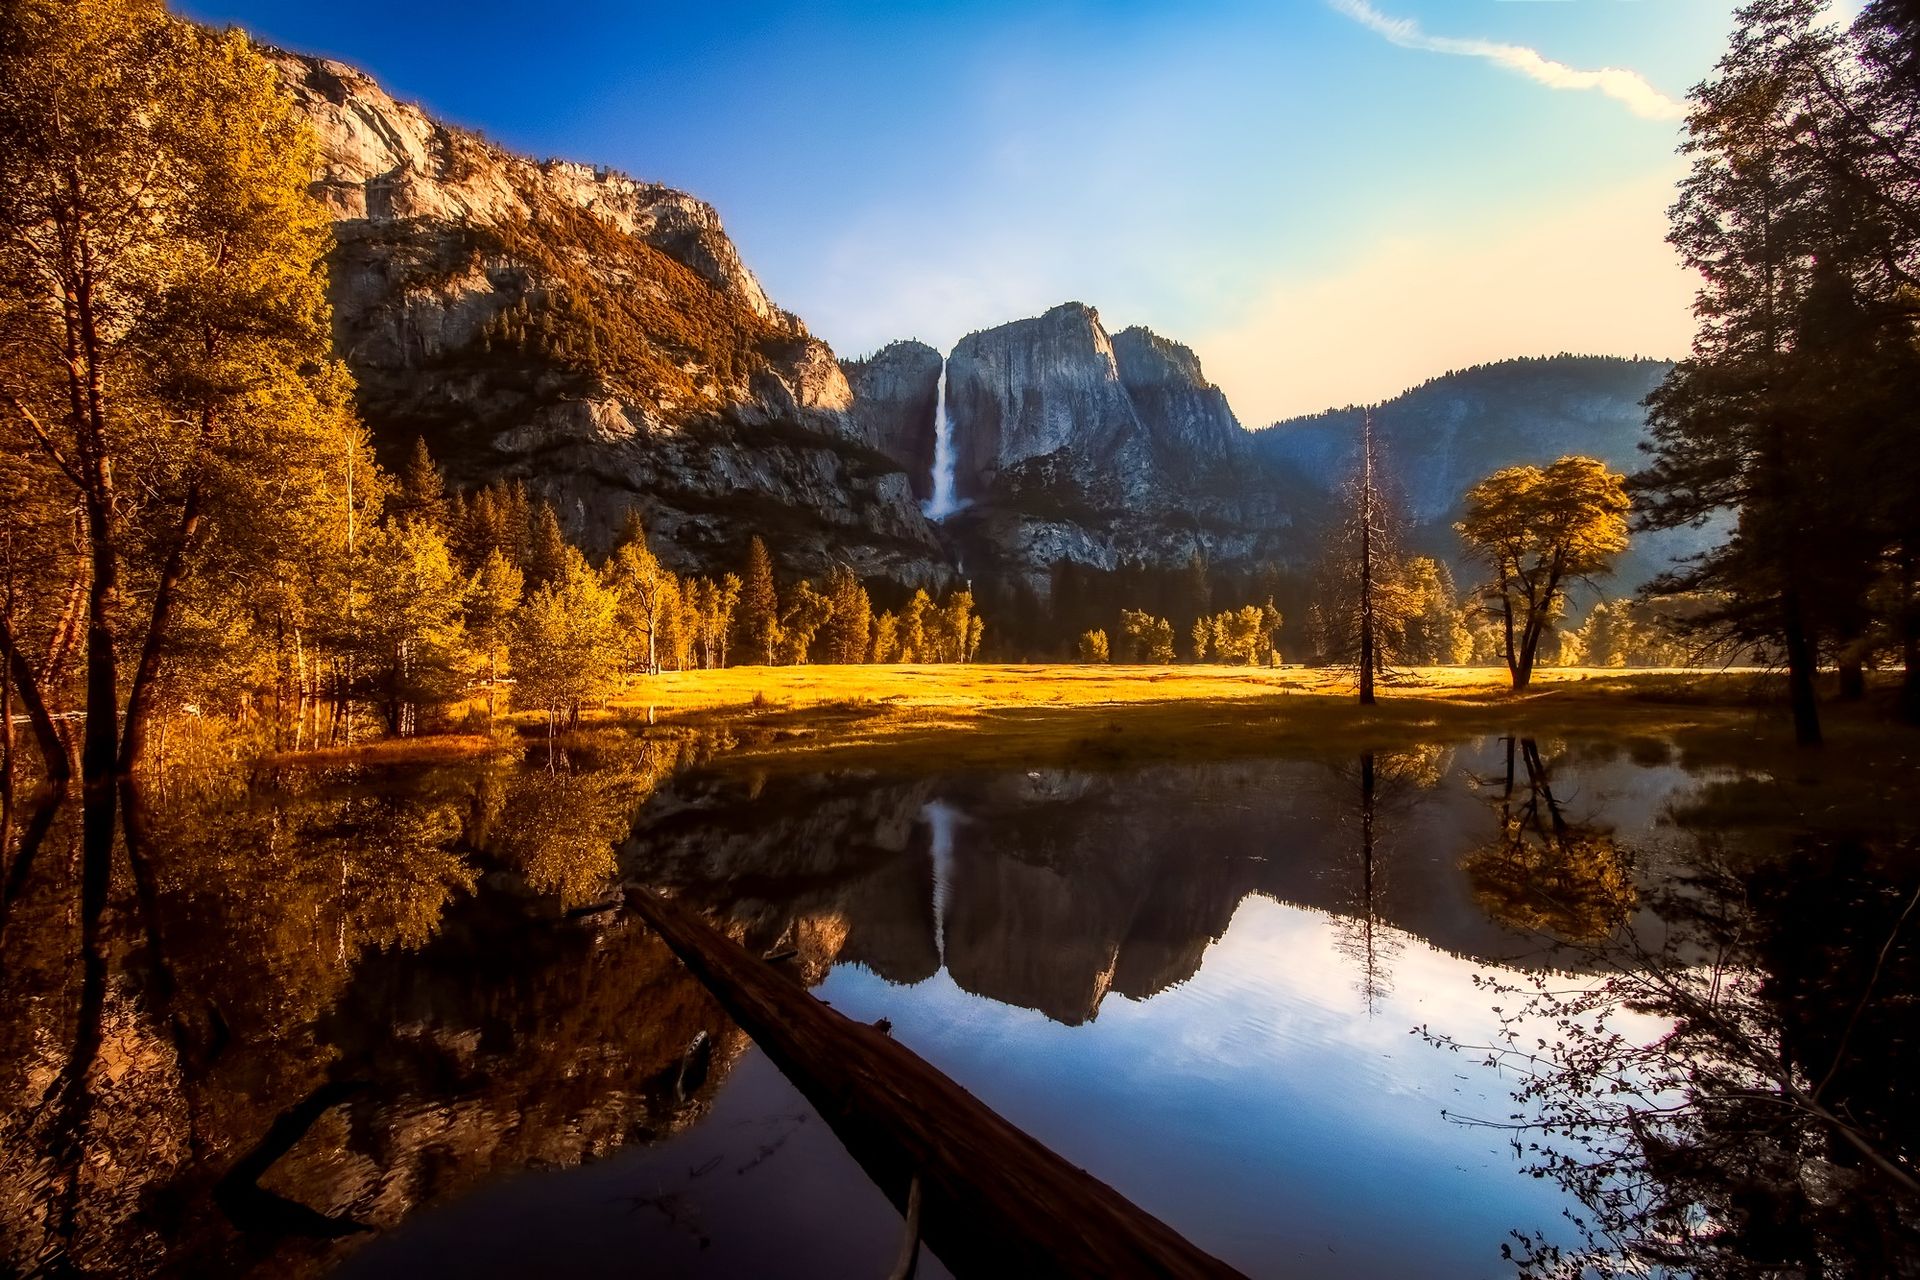
Travel Photography Guide: How to Take Better Photos on Every Trip
2026/09/30If you love taking photos while traveling, this guide will help you come home with more shots worth keeping. You'll learn how to pack lighter, handle crowded locations and difficult light, decide whether a drone deserves space in your bag, and protect your best photos after the trip. The tips work whether you shoot with a smartphone, compact camera, or drone, so you don't need professional gear to improve your travel photography. Paying attention to light, framing, and preparation often matters more than adding another piece of gear to your bag.
What Is Travel Photography?
Travel photography uses photos to tell the story of a place through its landscapes, people, streets, architecture, food, and everyday details. Unlike landscape photography, which mainly focuses on the natural environment, travel photography lets you show more of what makes a destination feel distinct. You can combine wide scenes, small details, and human moments to give your photos more context and help viewers get a stronger sense of the place.
Key Elements of Travel Photography
Storytelling: Your photos can show more than what a destination looks like. They can also capture its atmosphere, daily life, and the moments that shaped your experience there.
Variety: Mix landscapes with street scenes, architecture, food, people, and close-up details so your photos show different sides of the same place.
Sense of Place: Look for the details that make one destination feel different from another, whether that comes from local color, weather, movement, traditions, or everyday routines.
Common Uses of Travel Photography
Travel photography can serve different purposes depending on what you want to capture and how you plan to use the images.
Use | What It Can Include |
Personal Travel Memories | Landscapes, street scenes, food, people, and small details that help you remember the trip. |
Blogs and Social Media | Wide scenes, close-up details, portraits, and everyday moments that help you build a visual story around a destination. |
Editorial and Tourism Content | Destinations, attractions, local culture, hotels, activities, and other images that support travel stories or tourism content. |
Creative and Documentary Projects | Street photography, portraits, architecture, daily life, and other images that show a broader view of a place. |
Aerial Photography | Landscapes, coastlines, roads, and large-scale scenes where a view from above can reveal patterns and perspectives you cannot capture from the ground. |
Travel Photography Gear: Pack Light and Plan Around Your Trip
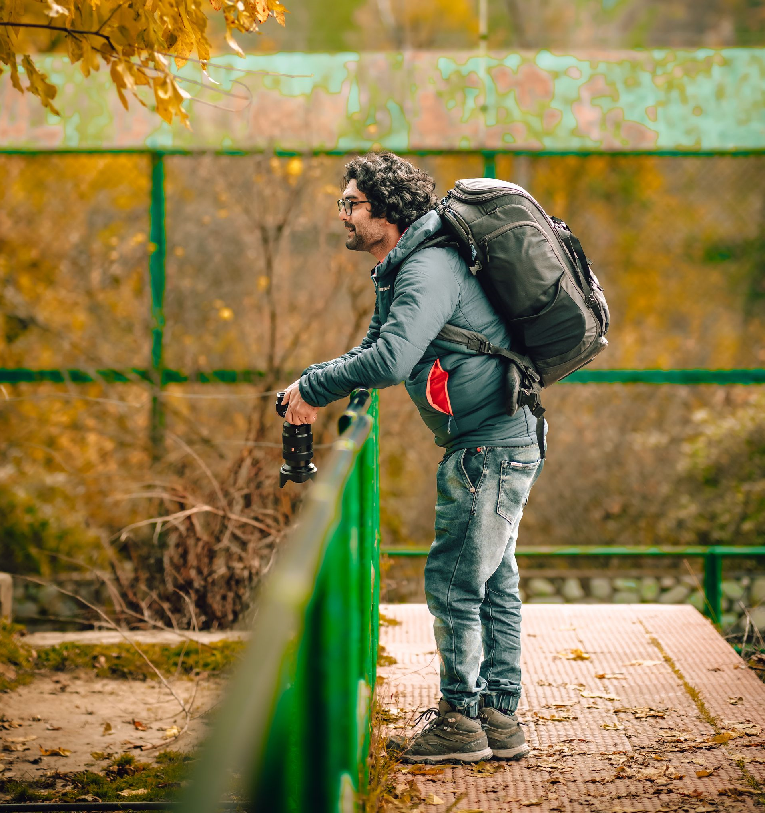
You do not need a large camera bag to take better travel photos. Start with the gear you know you will actually carry, then adjust your setup for the places, weather, and shooting conditions on your trip. A lighter kit makes it easier to keep your camera with you throughout the day, especially when you spend hours walking, moving between locations, or shooting without easy access to charging.
What to Pack
Your travel photography gear should match how you plan to shoot rather than follow one fixed checklist.
Gear | When It Helps |
Smartphone or camera | Your main tool for everyday travel photos, from streets and food to landscapes and people. |
Versatile lens | Helps you cover different scenes without carrying several lenses or changing them throughout the day. |
Spare battery or power bank | Keeps you shooting during long days away from a charger. |
Memory cards or extra storage | Gives you more storage and lets you spread your photos across more than one card. |
Compact tripod | Useful for blue hour, night scenes, long exposures, and group photos. |
Microfiber cloth | Helps with fingerprints, dust, condensation, sand, and sea spray. |
Weather protection | A small rain cover or dry bag can help protect your gear in wet or coastal conditions. |
Compact drone | Adds aerial perspectives for coastlines, mountain roads, open landscapes, and other places where local rules allow drone flights. |
Keep the full setup in mind, not just the camera body. A lens, batteries, charger, tripod, controller, and other accessories can add more weight than you expect. If you would not want to carry something for several hours, think carefully about whether it deserves space in your bag.
You can also adjust the kit to the trip. For a city break, a smartphone or compact camera with a small tripod may cover most of what you need. For hiking or coastal travel, weather protection and a lightweight setup matter more. If your trip includes large landscapes and open areas, a compact drone can add a perspective you cannot capture from ground level.
Plan Around Light, Weather, and Local Rules
What you carry matters, but light, weather, and access can shape your photos just as much. Check a few things before you leave so you can decide when to shoot and what gear you actually need.
Check sunrise and sunset times. Early morning and late afternoon often give you softer light, while blue hour can work well for city streets, skylines, and illuminated buildings.
Look at the forecast. Rain, fog, clouds, wind, heat, and cold can all change what you shoot and what you pack. Overcast skies can work well for portraits and street scenes, while rain can add reflections and atmosphere.
Plan for the location. Check opening hours, photography restrictions, access rules, and whether a museum, cultural site, or private property limits tripods or other equipment.
Check drone rules separately. If you plan to fly, review the airspace, takeoff and landing restrictions, and any local or site-specific rules before your trip. In the U.S., recreational flyers also need to complete TRUST.
Travel Photography Tips for Better Photos
Popular landmarks often pull everyone toward the same spot, so photos can start to look similar. You do not need to find a completely different location. A small change in position can give you a very different frame.
Step away from the main viewpoint: Do not stop where the crowd gathers. Walk a little to the side and look for a quieter angle.
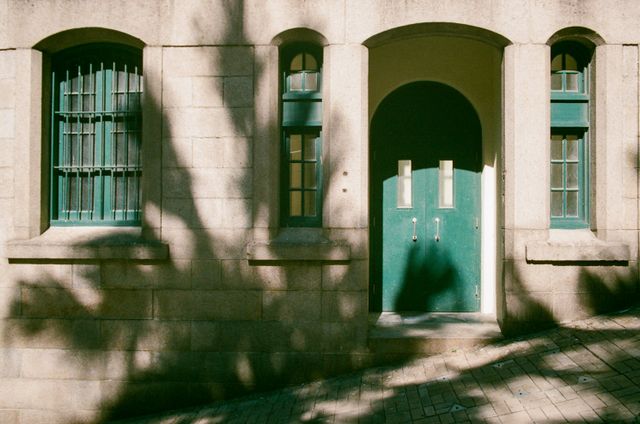
Use the surroundings: Side streets, doorways, arches, windows, and reflections can change the structure of your composition.
Shift left or right: A small move can clean up the background or reveal details you could not see from the main viewpoint.
Change Your Height and Angle
Eye level feels natural, but using the same height and angle for every photo can make your shots feel repetitive.
Lower the camera: A low angle can make flowers, rocks, pavement textures, and other foreground elements stand out while adding more depth.
Find a higher viewpoint: Shoot from stairs, overlooks, or elevated spots to show street patterns, lines, and the layout of a scene.
Angle the camera upward: When you photograph architecture, a slightly higher angle can emphasize height, lines, and structure.
Move closer to your subject: If a wide scene feels too busy, step forward to reduce background distractions and focus on one detail.
Use Foreground to Add Depth
A strong foreground can give your travel photos more depth and help guide the viewer into the frame.
Look for natural foreground elements: Railings, flowers, doorways, rocks, branches, and windows can all work well.
Build layers: Create a clear relationship between the foreground, middle ground, and background, especially in landscapes, street scenes, and architecture.
Keep the foreground from taking over: If it feels too large, bright, or distracting, change your position or leave it out of the frame.
Work With Changing Weather
You will not get perfect weather every day of a trip, so instead of waiting for better conditions, adjust what you shoot to match the weather you have.
Overcast skies: Softer light works well for street scenes, portraits, and details.
Fog: Use it to simplify the background and add depth or atmosphere to landscapes.
Rain: Look for reflections on pavement, windows, and puddles to add more interest to everyday street scenes.
Harsh midday sun: If wide landscapes or portraits feel difficult, switch to food, architecture, signs, textures, or compositions built around strong shadows.
If the weather changes quickly, keep your setup simple so you can react faster without constantly switching lenses or accessories.
Photograph People and Details
Landmarks show where you went, but people and small details can show what a place actually felt like. Along with wide views, look for street activity, food, storefronts, transportation, textures, and everyday life.
Photograph people: Look for natural interactions and everyday moments, and ask for permission when the situation calls for it.
Show the surroundings: Use streets, shops, markets, and transportation to give your subject more context.
Capture the details: Food, signs, handmade objects, textures, and small items can add more character to the destination.
At each location, try to capture three types of shots:
Wide: Show the location and its surroundings.
Medium: Focus on people, activity, or one part of the scene.
Detail: Capture food, textures, signs, objects, or other small elements that add a stronger sense of place.
Camera Settings for Travel Photography
You do not need one perfect camera setting for every trip. The right setup depends on what you are shooting, how much light you have, and whether your subject is moving. Start with a few simple reference points, then adjust as the scene changes.
Situation | Starting Point | What to Watch For |
Daylight streets | Use Aperture Priority, keep ISO around 100–400, and check that the shutter speed stays fast enough to avoid motion blur. | Watch moving people and traffic. If subjects start to blur, raise the shutter speed or ISO as needed. |
Landscapes | Start around f/8 with a low ISO, then adjust shutter speed for the available light. | Keep an eye on bright skies and deep shadows, especially around sunrise and sunset. |
People in motion | Start around 1/250 sec or faster when you want to freeze movement. | Use a faster shutter speed for quicker movement, then raise ISO if the image gets too dark. |
Blue hour | Keep ISO low and use a tripod when shutter speeds become too slow to handhold. | Streetlights and signs can create bright highlights, so check exposure before you shoot. |
Night scenes | Use a tripod, low ISO, and a longer exposure for static subjects. | Moving people and cars may create useful motion or unwanted blur, depending on the scene. |
Waterfalls or light trails | Use a tripod and a slower shutter speed to show motion. | Test different exposure times instead of relying on one fixed setting. |
Treat these as starting points rather than fixed rules. If you shoot with a phone, tap the part of the scene you want to expose for and use the exposure control to keep bright skies or signs from blowing out. At night, steady the phone on a tripod or solid surface and use Night mode when it helps.
As you shoot, check the image rather than the numbers alone. If your subject looks soft, use a faster shutter speed. If the photo looks noisy, lower the ISO when you can. If you want more of the scene in focus, stop the aperture down; if you want more background blur, open it up. You will usually get better results by adjusting to the scene than by trying to use one “best” setting everywhere.
How to Photograph Different Travel Scenes
A city street, mountain trail, market, and coastline each ask you to shoot a little differently. Light, movement, distance, and the amount of space around your subject all change from one place to another, so adjust your approach to match the scene in front of you.
Cities
Cities give you architecture, street activity, reflections, signs, and repeating patterns all in one place. Look for clean lines, symmetry, layers of movement, and moments where people add scale or context.
Use architecture to frame the shot: Doorways, arches, windows, and building lines can help organize a busy scene.
Look for reflections: Glass, puddles, polished surfaces, and storefronts can add another layer to the composition.
Include movement: Pedestrians, bikes, buses, and traffic can make the scene feel more alive.
Shoot early or late: Softer light and thinner crowds can make popular areas easier to photograph.
Landscapes
For landscapes, focus on depth, scale, and light. A wide view works best when the frame gives the viewer somewhere to look rather than showing a large scene with no clear subject.
Add a foreground element: Rocks, flowers, paths, or trees can lead the eye into the frame.
Use people for scale: A small person in the distance can show how large a mountain, valley, or desert really feels.
Watch the light: Sunrise, sunset, clouds, and changing shadows can shape the scene more than extra gear.
Check the horizon: Keep it level unless you intentionally want a tilted composition.
People
People can add context, emotion, and a stronger sense of place to your travel photos. You do not need every shot to feel like a formal portrait. Street scenes and everyday moments often tell more about a destination.
Show the environment: Leave enough of the surroundings in the frame to show where the person is.
Look for natural moments: Gestures, conversation, work, and movement often feel more natural than a posed expression.
Pay attention to light: Open shade or softer light usually works better than harsh midday sun on faces.
Ask when appropriate: If you want a close portrait, a quick request can make the interaction more respectful.
Food and Small Details
Not every travel photo needs a wide view. Food, signs, textures, objects, and small details can fill in the parts of a trip that landscapes and landmarks miss.
Move closer: Cut down on background clutter and let the detail fill more of the frame.
Use window light: Soft side light can work well for food, crafts, and indoor details.
Include some context: A table, hand, menu, market stall, or surrounding object can show where the detail belongs.
Look for repetition and texture: Tiles, fabrics, ingredients, signs, and crafts can add local character to a photo set.
Coastlines and Hiking
Coastal trips and hiking routes often combine wide scenery, changing weather, strong wind, and limited chances to stop and shoot. Keep your setup manageable and look for ways to show both the route and the scale of the landscape.
Use paths and shorelines as leading lines: Trails, roads, cliffs, and coastlines can guide the eye through the image.
Show scale: Include a hiker, vehicle, building, or other familiar element when the landscape feels too abstract.
Watch changing conditions and protect your gear: Wind, fog, rain, sea spray, and fast-moving light can change the scene quickly, so keep your setup simple and your gear protected.
Consider an aerial view: Where local rules allow drone flights, a higher viewpoint can reveal coastline shapes, winding roads, ridgelines, and terrain patterns that you cannot see clearly from the ground.
Should You Bring a Drone for Travel Photography?
A drone can give you perspectives you cannot reach from the ground, but you do not need one for every trip.
Camera / Smartphone vs Compact Drone
Your camera or smartphone will usually handle most of your travel photos, while a compact drone works best as a second perspective rather than a replacement.
For most trips, keep your phone or camera as your main shooting tool. Add a drone when the destination gives you scenes that benefit from height, scale, or a viewpoint you cannot reach on foot.
Use | Camera / Smartphone | Compact Drone |
Best for | Street scenes, portraits, food, architecture, interiors, and low-light details | Coastlines, mountain roads, large landscapes, terrain patterns, and overhead views |
Perspective | Ground-level and eye-level views | Aerial and top-down views |
Setup | Lets you pull it out and shoot quickly | Requires more preparation before each flight |
Low-light and evening use | Usually more practical for night scenes and indoor shooting | Gives you fewer options when light, weather, or location rules limit flying |
Extra gear | May require a lens, battery, tripod, or charger depending on your setup | Usually adds a controller, batteries, charger, and other flight accessories |
Restrictions | Usually comes with fewer location-specific limits | Airspace, takeoff and landing rules, and local restrictions can limit where you fly |
When an Aerial Perspective Is Worth It
An aerial view makes the most sense when height changes how you see the scene, not simply because you can fly.
Large landscapes: Use a higher viewpoint to show how mountains, valleys, deserts, or open terrain connect across a wider area.
Coastlines and roads: Look from above to reveal curves, patterns, and the relationship between land and water.
Scale: Include people, vehicles, buildings, or trails to show how small they look within a much larger landscape.
Patterns and symmetry: Use height to bring out fields, shorelines, rooftops, paths, and natural formations that look less obvious from the ground.
Limited ground viewpoints: Use a drone when cliffs, water, fences, or rough terrain block the angle you want.
A drone adds the most value when it gives you something your ground camera cannot. If a higher angle only repeats the same composition, you may get more from carrying less gear and spending more time shooting from the ground.
How Antigravity A1 Fits a Travel Photography Kit
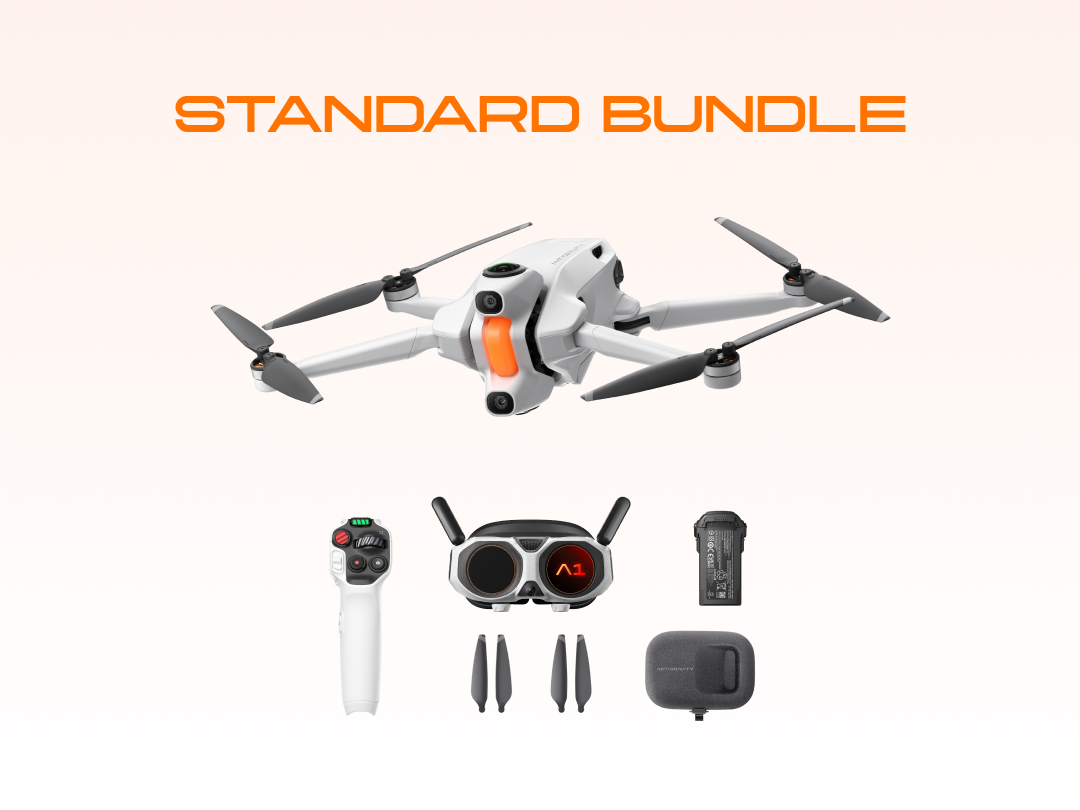
If you want to add aerial coverage without making your travel kit feel much heavier, the Antigravity A1 gives you a lightweight way to add more framing options to your trip. Its 8K 360 capture lets you record the scene around the drone and choose your framing afterward, while the standard battery keeps the drone at 8.8 oz (249 g).
At a glance, A1 adds four things that matter most for travel photography:
8K 360 capture: Record the full scene and choose your framing afterward.
8.8 oz (249 g) standard setup: Keep the drone side of your travel kit lighter.
FreeMotion control: Use a more direct motion-based way to fly.
Two battery options: Choose between a lighter setup and longer flight time.
Capture in 8K 360 and Reframe Later
Travel often gives you limited time to capture a scene before the light changes, the weather shifts, or you need to move on. With 8K 360 capture, you do not have to commit to one camera direction while you fly. After the flight, you can reframe the footage into different views and choose the composition that works best, which can help when you photograph coastlines, mountain roads, trails, or large landscapes and only get one good chance to fly.
Keep the Standard Setup at 8.8 oz (249 g)
With the standard Flight Battery, A1 weighs 8.8 oz (249 g), which makes it easier to add aerial photography to a kit that may already include a phone, camera, charger, tripod, and other travel gear. The lower weight matters even more when you spend the day hiking, walking between locations, or traveling with limited luggage space.
Use FreeMotion and Obstacle Assistance
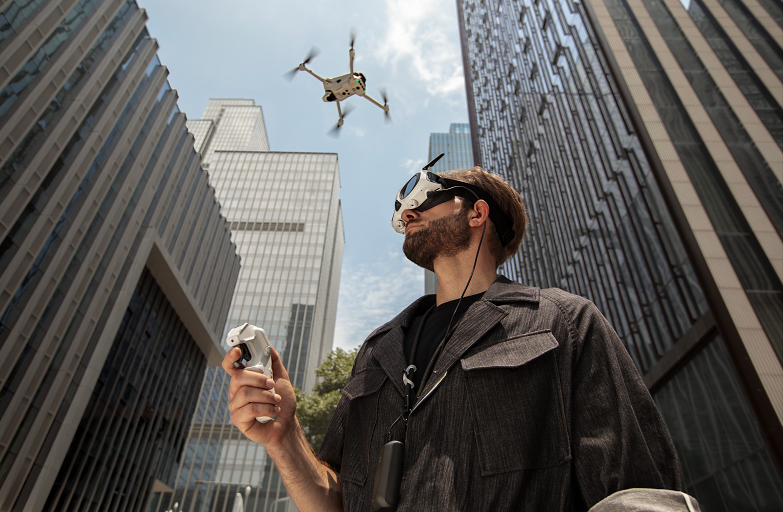
If you only fly occasionally while traveling, you may not want to spend much of your time thinking about complex stick inputs. FreeMotion gives you a more direct way to control the drone by pointing the Grip Motion Controller in the direction you want to fly, while A1's omnidirectional obstacle sensing adds another layer of assistance around unfamiliar terrain. You should still keep a safe distance from obstacles and adjust your flight to the conditions around you.
Choose the Battery That Fits the Trip
Your battery choice depends on whether you care more about keeping the drone lighter or staying in the air longer.
Battery Setup | Aircraft Weight | Max Flight Time | Best For |
Standard Flight Battery | 8.8 oz (249 g) | Up to 24 min | Hiking, day trips, and lighter packing |
High-Capacity Flight Battery | 10.3 oz (291 g) | Up to 39 min | Longer outings and fewer charging opportunities |
If you want to keep the drone at 249 g, use the standard battery. If longer flight time matters more for the trip, the high-capacity battery gives you more time in the air but raises the takeoff weight.
Common Travel Photography Mistakes
Small mistakes can leave you with repetitive photos, extra gear, or missed moments.
Packing too much: If you do not want to carry a piece of gear for several hours, think twice before putting it in your bag.
Shooting every landmark from the same viewpoint: Move around, change your height, and look for foreground, reflections, or quieter angles.
Waiting for perfect weather: Clouds, fog, rain, and strong shadows can all give you different ways to photograph a place.
Ignoring people and small details: Landscapes and landmarks show where you went, but food, street activity, signs, textures, and everyday moments add more of the destination's character.
Using one camera setting everywhere: Adjust shutter speed, aperture, and ISO to match the light and movement in front of you.
Relying on one memory card: Back up your photos regularly to cloud storage, a portable drive, or another device, especially after a full day of shooting. If you use several cards, rotate them instead of keeping the whole trip on a single card.
Leaving your photos unorganized: Sort them by date or location and mark your strongest shots before you start editing. A simple folder system makes it much easier to find the images you want later.
Flying a drone without checking the location first: Review airspace, takeoff and landing rules, and local restrictions before you fly.
The goal is not to come home with the largest number of photos. Give yourself enough variety to tell the story of the trip without turning every stop into the same shot.
Conclusion
Travel photography does not require complicated gear or one fixed way of shooting. Bring the equipment you will actually use, then adjust your framing and camera settings to match the light, scene, and subject in front of you. A phone or camera can handle most of the trip, while a drone can add another perspective when height reveals a composition, sense of scale, or view you cannot get from the ground. In the end, you do not need more photos. You need a varied set of images that captures the places, details, and moments that made the trip memorable.
FAQs
What Basic Gear Do I Need to Start Travel Photography?
You can get started with the camera you already own, usually a smartphone, plus a spare battery, at least two memory cards, and a soft cleaning cloth. A spare battery is the single most useful upgrade if you shoot from sunrise to dusk. Only add lightweight extras like a mini tripod for blue-hour city shots when they fit your travel plans.
Is a Drone Worth Adding for Beginner Travel Photography?
Yes, when your itinerary features wide landscapes, coastlines, or open scenic areas. A compact drone gives aerial perspectives you can't capture from ground level, and 360-degree recording lets you reframe shots after the flight. Always study local flight regulations and review basic safety guidance before you fly on any trip.
How Can You Get Great Travel Photos Without Overpacking Heavy Camera Gear?
Stick with one primary shooting device and skip bulky multi-lens kits. Lean into natural light instead of hauling piles of accessories, and back up your photos every night. Pack only what you would gladly carry on a two-hour walk. One versatile lens you actually use beats three lenses that stay in the hotel room. Save heavy specialized gear for trips built entirely around photography.