
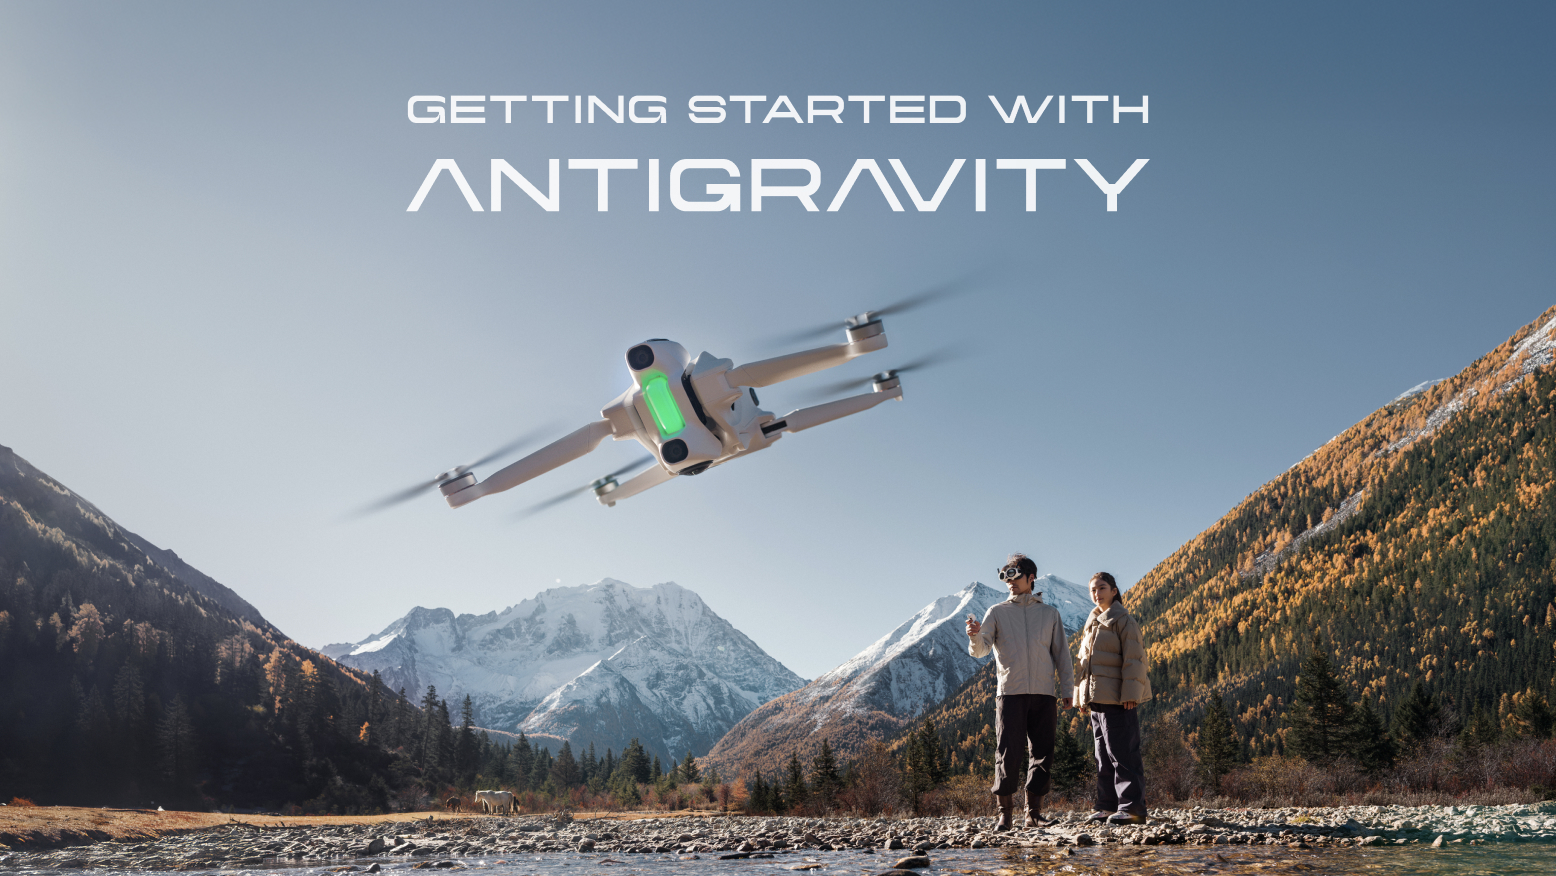
Getting Started with Antigravity A1: Setup, Activation, and Your First Flight
January 21, 2026
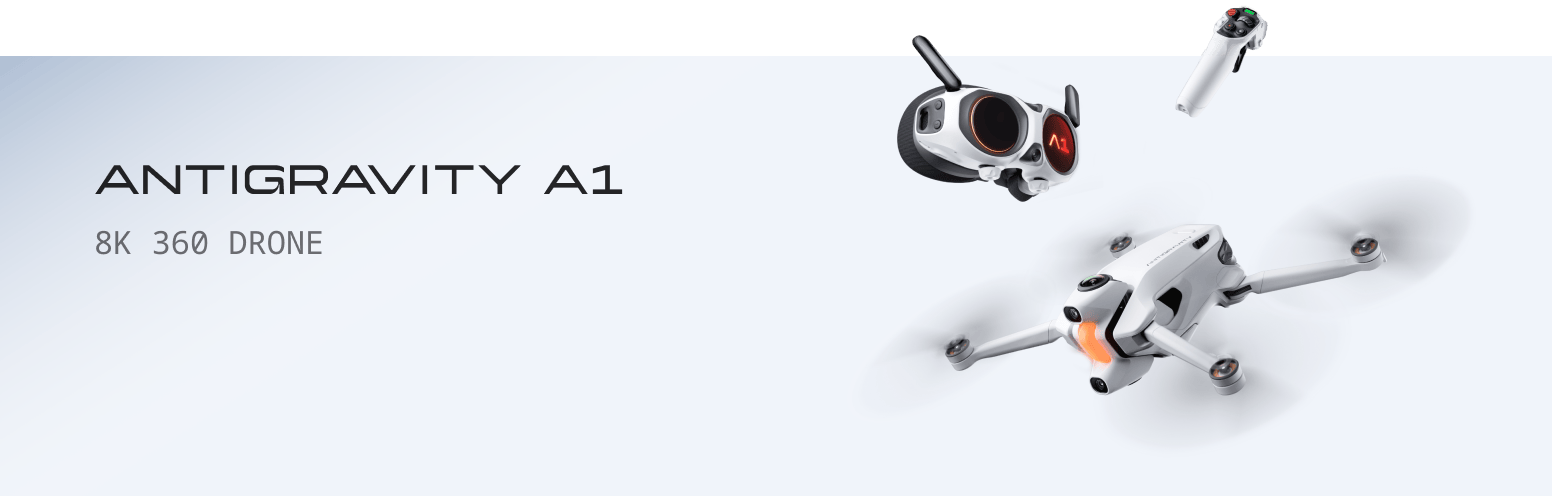
If you are wondering if A1 is difficult to master, the answer is no. We designed the A1 to break the barrier of traditional flight. Unlike standard drones that require muscle memory for complex joystick combinations, the A1 uses motion control to translate your hand movements directly into flight.
The concept is simple: if you can point a flashlight, you can fly this drone. It is built to be intuitive from the very first second, removing the steep learning curve of FPV flight so you can focus on the experience, not the mechanics.
Getting Your A1 Ready
Still haven't grabbed an A1 yet? Head over to our store to grab yours.
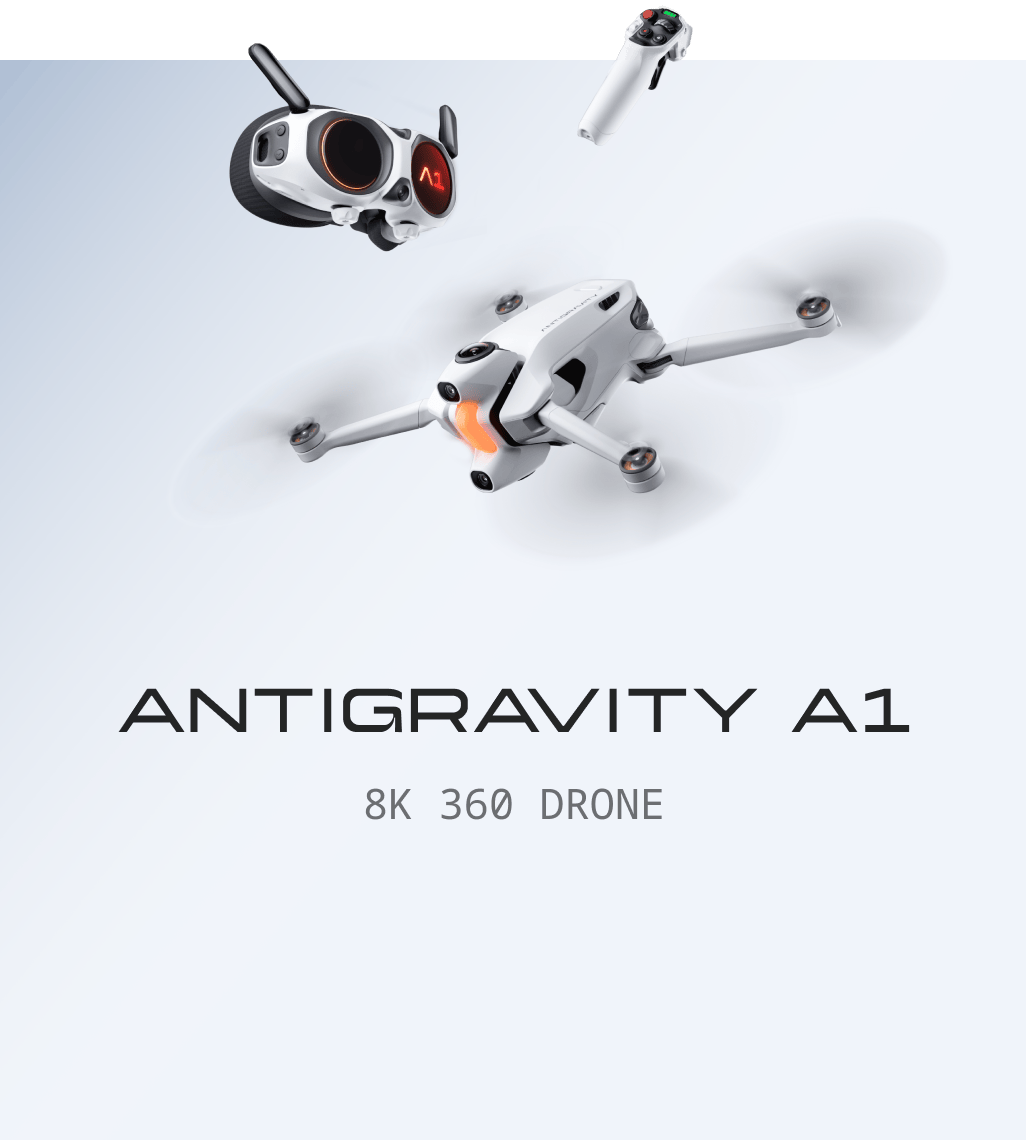
So, now that you know you can fly it, let's get you in the air. Welcome to a new era of flight. Because the A1 uses that unique Grip controller and 360 visuals, the setup is slightly different from what you might be used to. The rest of this guide will walk you through activation and help you understand exactly how to control your flights. Let's dive in.
Setup and Activation
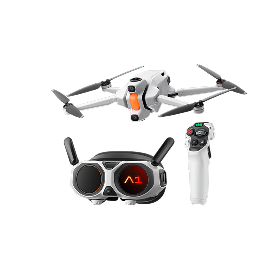
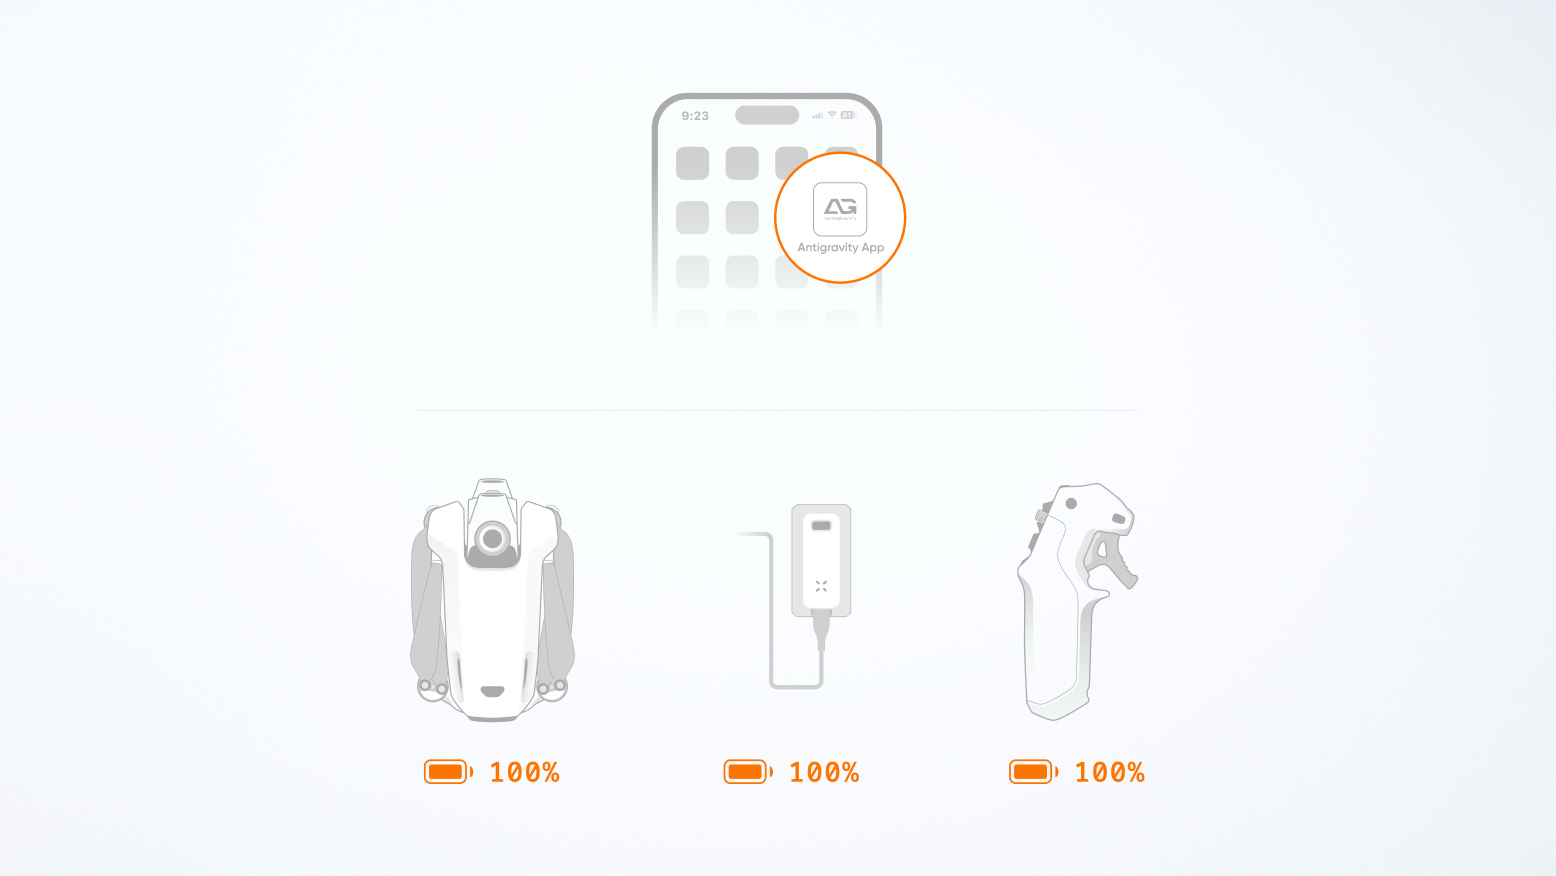
Start by scanning the QR code on the box or searching Antigravity in your app store to download the app. While that installs, ensure your A1 drone, Vision goggles, and Grip motion controller are fully charged.
Once you are ready, open the Antigravity app and navigate to the Flight Prep page. Tap "Connect Device" and follow the on-screen prompts to activate the trio. If the app prompts you for a firmware update, do it immediately. A crucial tip here is to update each battery individually by inserting them one by one into the drone during the process.
The Power-On Sequence
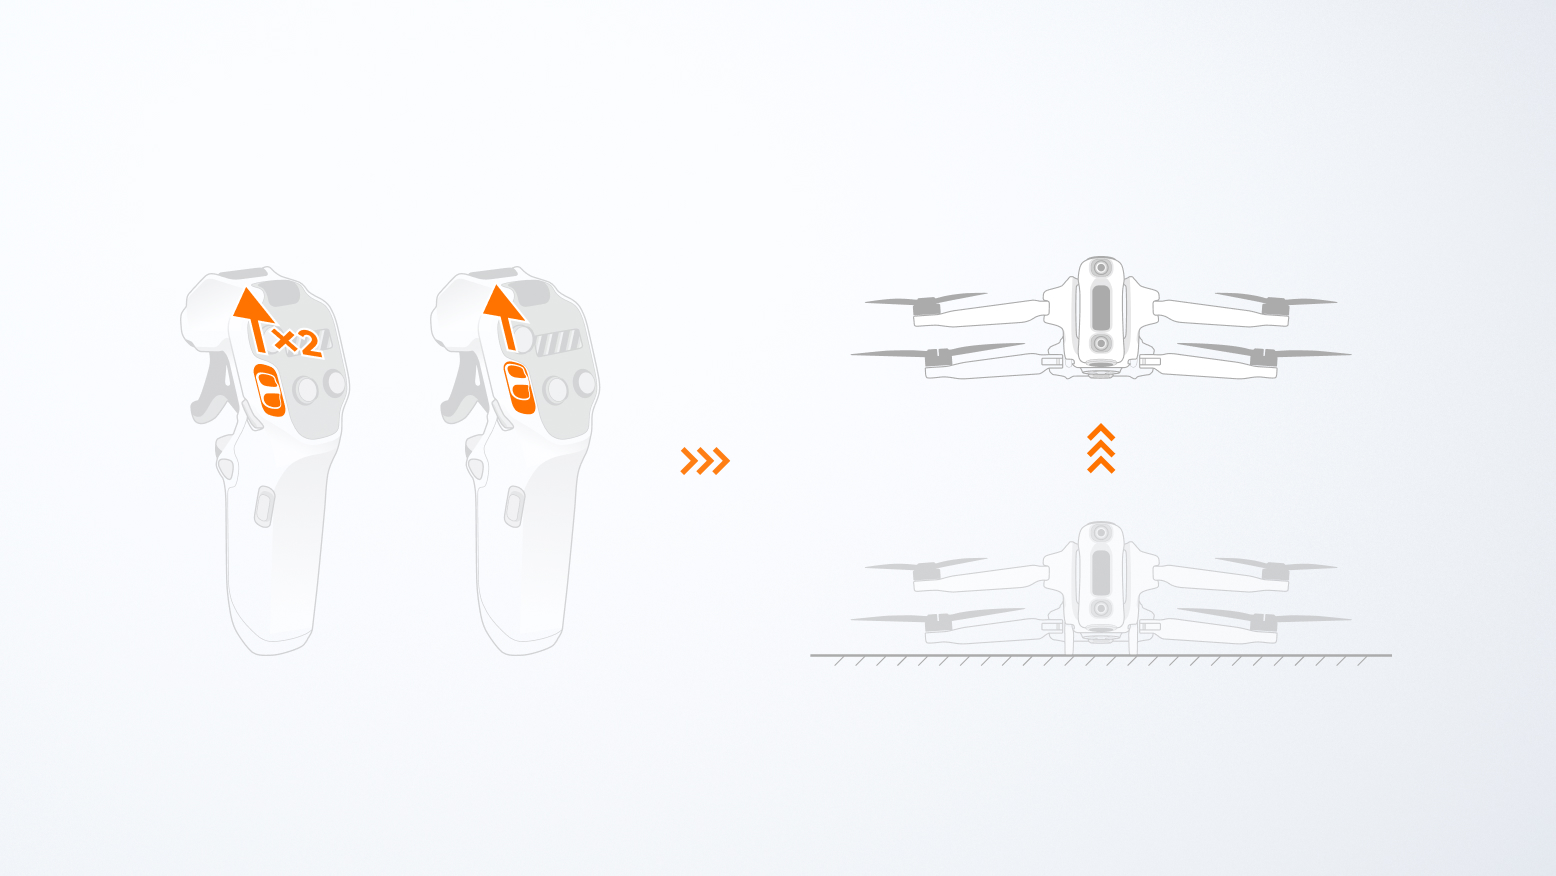
To ensure the system pairs correctly, the order matters. Start with the A1 drone. Press, then long-press the Power Button. Hold the drone while you do this. Do not place it on the ground yet, as holding it allows the retractable landing gear to extend fully, which protects the bottom 360 camera lens from rough surfaces.
Next, connect the Vision goggles battery via the USB-C cable, clip it to your lanyard, and power them up. Finally, press and long-press the power button on the Grip controller.
How to Take Off
Getting airborne is simple. On the Grip controller, push the Slider upward twice to unlock the motors. Once they are spinning, push the Slider upward again and hold it. The A1 will auto-takeoff and hover at 1.2 meters, waiting for your command.
When you are ready to land, just slide the Slider down continuously until the drone touches down, then power it off by short pressing, releasing, then long pressing the Power Button.
Visualizing Control
This is the part most new pilots find hard to picture, but it is actually quite intuitive. Inside the Vision goggles, you will see a Navigation Dot. Think of this as your target. The drone always tries to align its nose with this dot.
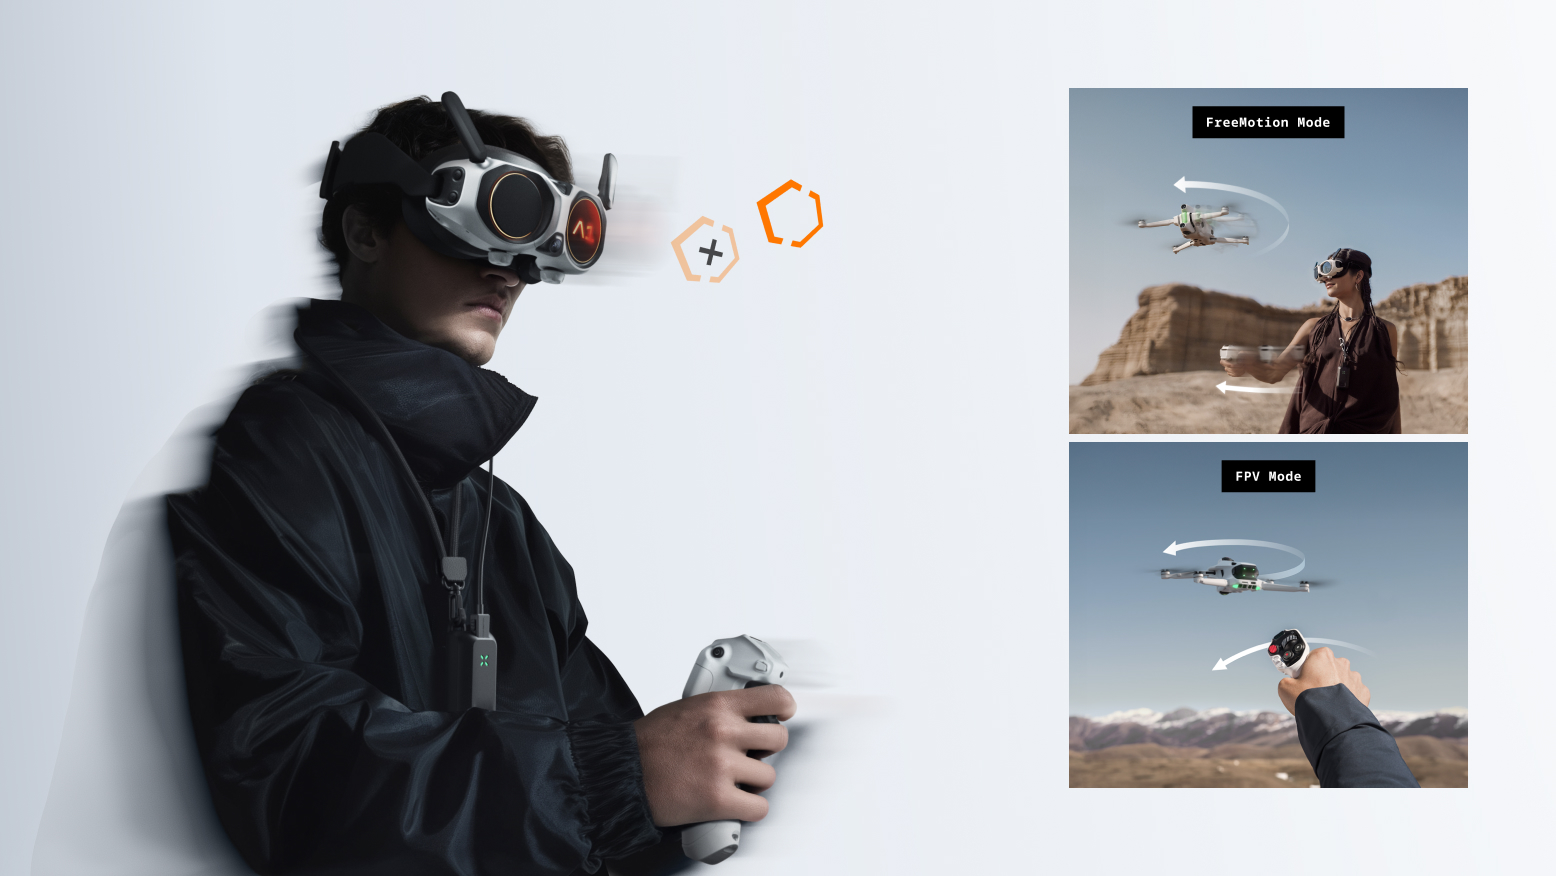
By default, you are in FreeMotion Mode. This logic is simple: point where you want to go. Move your entire arm to shift the Navigation Dot. If you point your arm left, the dot moves left, and the drone turns left. To fly forward, pull the Accelerator trigger. The harder you pull, the faster it flies. It feels instinctive, almost like pointing a flashlight.
If you prefer smaller movements, you can switch to FPV Mode in the menu. Here, the direction control is more compact. Instead of moving your arm, simply rotate your wrist to steer the drone. This offers a familiar feel for pilots who are used to classic FPV handling.
Mastering the Grip
Beyond steering, the Grip controller puts all essentials at your fingertips. The Slider controls your altitude—up to ascend, down to descend. The 360 View Dial allows you to adjust the drone's orientation while hovering or quickly sync the flight direction with your current view.
For safety, the Brake / RTH button is your best friend. Press it once to stop immediately and hover. Press and hold it to activate Return-to-Home, bringing the drone back to your takeoff point automatically. If you need to take over, just press the button again to regain manual control.
Situational Awareness and Safety
A1 is designed to keep you aware of your surroundings. Even if you turn your head to look sideways at a passing landscape, the Vision goggles ensure you always have a visual reference via Navigation Assist, a small window that stays present in the HUD (heads up display) even if you look around as you fly. This constant forward view helps you naturally avoid obstacles, even when you are admiring the view.
Capturing the Moment
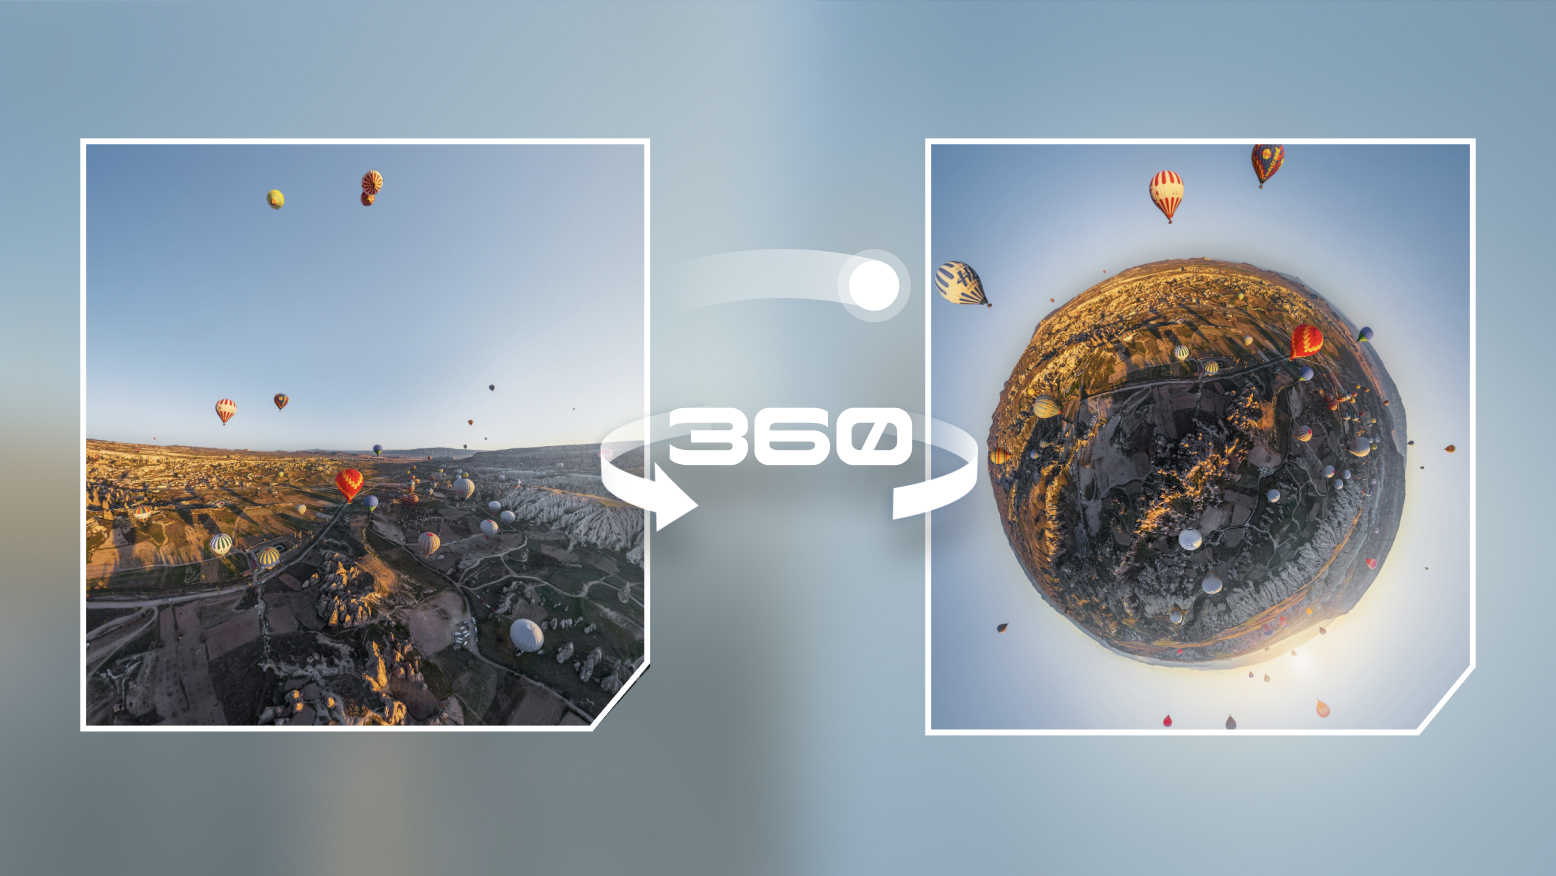
Flying is only half the fun. The Grip controller puts content creation right at your fingertips with the dedicated Shutter and Record buttons. Because you are capturing in 360, you don't need to worry about framing the perfect shot while you fly. Just hit record, enjoy the flight, and choose your angles in the app after you land. Easy!
Next Steps: Advanced Features
Once you are comfortable with the basics, you will be ready to explore the A1's intelligent tools. Features like Sky Path allow you to draw automated flight routes, while Sky Genie executes cinematic maneuvers with a single tap. We will cover these advanced creative tools in a future guide.
Need a Visual Guide?
If you prefer watching hands-on demonstrations, the Antigravity app is your best resource. It hosts a full library of video tutorials covering everything from unboxing and pairing to lens replacement and maintenance. It is the perfect companion to get you in the air safely.

Are you on the list?
Subscribe to receive top stories, tips and news right in your inbox.
